This post is a
follow up to my January post about various commercial dress forms and DIY methods sewists use to try to get a decent dress form. Though it's been a while, I didn't forget my promise to write a tutorial to make THE BEST mannequin that really does duplicate your figure. In my defense, I just finished mine in September, (though I admit I've been using it anyway, pins and all) so thank you for your patience. To keep this tutorial from growing into an unmanageable mess, I'm going to break it down into smaller parts.
The key to success is in the accurate making and fitting of a french lining or Moulage, which is a sloper, master pattern, or fitting shell that has all of the wearing ease removed. Because this lining will become the cover of your mannequin, from here on out, I'm going to just call it a cover.
Supplies you will need:
~ A fitting shell pattern of your choice
~ Quality 100% cotton muslin yardage- the best you can afford. DO NOT PRESHRINK! 2 yards will be plenty.
~ A sturdy mannequin- smaller than your own figure measurements
~ measuring tape
~ clean spray bottle
~ 100% cotton batting
~ various rulers both curved and grid- C-thru
~ soutache braid
~ thread
~ pencil
~ scissors
~ disappearing fabric marker
~ dressmakers carbon- I prefer the waxed type
~ tracing wheel
~ dressmakers pins
~ hand sewing needles
~ sewing machine
~ Paper for copying your pattern- Use tracing paper on a roll, usually 12-24" wide found in the art section of your craft store(If you need wider paper, tape two sections together with transparent tape). While you could skip over the copying of your pattern, remember that a final pattern of your cover will come in handy if you ever need to make a new cover for your mannequin without going through the fitting process again.
Step One: Prepare the Pattern
1. Start with a Master Pattern that you like
The only pattern pieces you will be needing are the bodice and the skirt, both front and back. Be aware that I am not endorsing ANY of these patterns
. I list them only as possible sources.
Comercial Pattern Sources:
Butterick 6092
Vogue 1004
Specialty Sources:
http://pattern.stringcodes.com/main_basic.html
http://www.surefitdesigns.com/
From BurdaStyle:
Free Download:
http://www.burdastyle.com/blog/basic-sloper-patterns-priceless
OR http://www.burdastyle.com/patterns/basic-one-piece-dress-sloper (It can be both an advantage and disadvantage to be without the waist seam- I prefer to have a waist seam to fit to).
Draft Your Own:
http://www.burdastyle.com/techniques/constructing-the-basic-bodice-block
http://www.burdastyle.com/techniques/drafting-the-basic-skirt
.
2.
From Bodice with darts to Bodice with princess seams: FRONT.
If you are using a princess seam pattern then skip this section on dart mannipulation. It's also important to mention that you should
ALWAYS use a ruler to trace. If you do this freehand, your work will not be so accurate.
If your pattern does not have a seam line marked, use a ruler to mark this line on your pattern. Carefully trace off your pattern pieces, tracing only along the seam line. This is the important line to know, and at this point, we don't care where the cut line is. If your bodice has two darts, manipulate the side dart to the shoulder to make it a princess seam.
Here is a good video on You Tube that shows how to do that:
http://www.youtube.com/watch?v=pwTv7bBN7XE .
Use a ruler to connect the two darts from the shoulder to the waist. My pattern has only one dart at the waist, so I used a curved ruler to mark an attractive princess line to the shoulder.
Now we need to actually divide the bodice into two pieces by tracing off the two sides: Start at the neckline, down the center front, squaring off at the waist, up the inside leg of the waist dart to the shoulder, across the shoulder and neck to the center front. Add a grain line parallel to center front, label your pattern and add a notch or two if you desire. Do the same to the side front, carefully tracing around the outside leg (farthest from center front) of the darts, shoulder, waist and side seam. Add notches (if any) in identical locations to match up with front pattern, grain line parallel to center front and label. Now add a 1" seam allowance around both pattern pieces, transferring the notches to the cut line.
3. From Bodice with darts to Bodice with princess seams: BACK
On the back bodice, draw a slightly curved line from the shoulder dart to the waist dart. This line will be come your princess seam line. Copy off the Center Back and Side Back pattern pieces the same as the front, adding a grain line parallel to the center back, labeling, notches if desired, and 1" seam allowances.
4. Give your skirt pattern princess seams too!
Measuring from the waistline down center front and back, perpendicular to the grain line, shorten the skirt pieces to about 16-17". Be sure to "walk" the pattern side seams to make sure the front and back are shortened the same amount.
Draw a line from the inside dart tip to the hem. Make this line perpendicular to the center front and back. This is your princess seam sewing line. If your pattern has a second dart, you can leave it as is, allowing one more fitting element, or combine it by transfering that dart space to the dart closest to the center front. Trace off your skirt pattern pieces as before, adding a 1" seam allowance and labeling them skirt front, skirt side front, skirt back, and skirt side back.

Step Two: Layout , Cut, and Sew
1. Layout
Lay out your pattern as you normally would with the pattern grain line parallel to the selvage. Cut 2 of each pattern piece. I pin on the inside of my seam line rather than on the edges, and because I want my seams to be ultra-accurate, I use dressmakers carbon and a tracing wheel to mark the seam line.
2. Pin along seam lines. Sew it up with a basting stitch. Press lightly or not at all.
Carefully match the seam lines using a pin in the mark on both front and back to hold the seam together.
The sewing order:
First, sew the bodice and skirt together matching bodice front to skirt front, bodice side front to skirt side front and so forth, sewing at the waistline.
Second,
sew the princess seams, matching fronts to side fronts and backs to side backs, matching any notches and waist seams.
Third, sew shoulders and center front. I left my side seams open because that is where the much of the fitting adjustments will be needed, and the back so that the model can get it on.
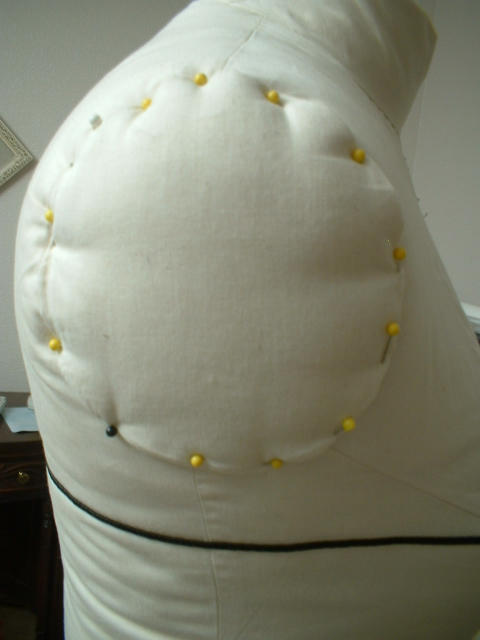
Here is my pre-padding mannequin wearing the cover I just made with the side seams pinned together. The cover still has the wearing ease, but you can see that the mannequin is smaller, especially in the hip area. The princess lines are also in the right location, centering over the shoulder and bust points.