Showing posts with label Tia Dress. Show all posts

Monday, March 30, 2015

Lengthening a Short Sleeve: Sew Chic Tia Dress


 Hi Everyone, time for another alteration request. This tutorial shows you how to lengthen a cap sleeve. I'll be using the Tia Dress Pattern to demonstrate.
 The easiest way to lengthen the sleeve on a cap is to draw a straight line from underarm to underarm. On this pattern, it lengthens about 1 3/4". Be sure to also extend the sleeve markings.
If you need more length beyond that, extend the underarm seam the same distance on each side and then draw a line across, perpendicular to the grain line. Add in the sleeve markings to the seam line as before. 
(not shown).

This alteration will change the fit of the sleeve band. You'll want to measure your arm and change the size of the sleeve band to fit your arm at this new length.

And if you want to make a complete pattern size adjustment, try Pattern Resizing Tutorial Part 1: Small to Large or Pattern Resizing Tutorial Part 2: Large to Small!

Enjoy! Best to All-
Laura


Thursday, November 20, 2014

Sewing Indie with Craftsy: Flirty Meets Sassy, part I

This tutorial was first written for Indie Pattern Month, as I was assigned to write a blog for Christine Haynes. Since we are both Craftsy teachers, it seemed appropriate to apply a related topic.


...I thought it appropriate that my tutorial for Sewing Indie should focus on our Craftsy Class projects. Pairing Flirty with Sassy makes for one adorable outfit, perfect for spring! So here we go with Sewing Indie with Craftsy: Flirty Meets Sassy Part I

Via this tutorial, Miss Sassy has become a jacket, perfect for warding off cooler weather, or a room with too much air conditioning!

This jacket adds some great color to match the dress trim in a fabulous vintage silhouette.
Miss Flirty, also known as Tia #1312, got a make over too! Adapting the trim to mirror the collar and incorporating rows of tucks down the front with a couple of cute covered buttons is perfect!
I've even included some cross tucking on the pocket just for fun.  To get all the details on how to take on the Tia dress adaptations, head over to my blog at It's Sew Chic, but stay right here for the Librarian Blouse make over.

Turning your Blouse into a light weight jacket is really easy, and only requires a few pattern changes. I always start with the top at the front and make my way down the pattern. Always mark on your pattern the changes you made from the original to guide you if ever come back to this pattern and wonder what you did!

Transferring the new neck line to pattern front

Because I knew the neck would be too high for my liking, using the pattern front without the tucks, I lowered the neck at center front by 1/2"redrawing a new line from the shoulder. (I used that pattern to keep all those tucks from getting in my way.) With the tucks closed, I transferred that new line to the view with the tucks.

Cutting this one into a short jacket
Using my bust point as a guide for length, I decide to cut off  7 7/8" from the bottom of the pattern. I am using my grid to draw a cut line perpendicular to the grain line. Draw a line 1" above for your hem mark.

Matching the side seams, front to back
  Mark your back pattern in the same manner, and then close the side dart and check to make sure that your side seams will match up.

Cut the pattern
  Now it's safe to cut away the extra.

Add additional to the collar

 Because I lowered the neckline, I know I'll have to add some additional to the collar pattern. To know how much, I have to walk the collar to the back and front pattern pieces. I had to add 3/8", and if you lower your neck the same amount that measurement will be the same for you also. Size will not matter.

Add length to the sleeve
Next, I added 8 3/8" to the bottom of the sleeve, which also includes 1" for the hem. You may need more or less length depending on your arm.

Copy these changes to the facing
Be sure to make the same changes to your facing piece. Lay your pattern right on top matching the edges and trace those off.

The facing now matches
Trimming away some of that neck front left that edge a little bit sparse, so I reshaped that curve on my facing. If you wanted to line your jacket, you can cut a lining from the front without the tucks, but you'll still need to use this piece to cut an interfacing. 

Now that your pattern is ready to cut out, let me share with you a few tips to get those tucks perfectly aligned and sewn without measuring.

Clip into the fabric
 Following the pattern markings, clip into the fabric at the top and bottom of each column. You can clip both, but the fold line is the one you need to keep track of.  

Press the fabric
 Holding your fabric at these ends, fold the fabric in half along these clips. The grain will help you line these up perfectly. Press each fold line before ever sewing a stitch.

Set your guide
Put your pattern under the sewing machine and put the needle down into the stitching line. Using a guide, set the distance to match the fold perfectly. Tape is a poor man's substitute, but these guides work better than the bumper rails at the bowling alley!

Thanks for joining me in this Flirty Meets Sassy tutorial! If you have questions you can find me on Facebook,and Twitter: @sewchicpatterns. Now head on over to part II http://sewchicpatterns.blogspot.com/2014/05/sewing-indie-with-craftsy-flirty-meets_25.html


Friday, July 11, 2014

Sewing for Competiton: Kathy Knapp

Today will be my last post about the IPCA PLARS competitors,  the "People's Choice" winner by Facebook "likes" Kathy Knapp. Kathy's entry went on to compete against other IPCA member companies, coming in second. Kathy received $100 in product from my company, and as 2nd place grand prize winner, she took home a brand new fabulous iron from the Reliable company too.
http://www.reliablecorporation.com/Products/Home-Irons

http://www.reliablecorporation.com/Products/Home-Irons

Like Eve Kovaks, whom I posted about last week, Kathy has sewn for. and won many, many competitions. But unlike Eve, who employs a versatile range in competition styles, Kathy stays with a consistent method that identifies her work where ever she goes. Some of her other garments for competition are below:

 And a close up of that jacket shows how she sculptures and highly embellishes the fabric: 

Here is what Kathy had to say about her PLARS entry:

"As a collector of vintage clothing and accessories, I wanted to enter the challenge to try to put my own spin a vintage dress.  My aesthetic as a wearable art designer is to elevate traditional quilting techniques to a high art form.  As a rule I study historical garments and use them as a starting point to transform these ideas into a more wearable product with a modern edge.  I generally like to create structured pieces as a rule; the challenge pushed me beyond my limits to create a flowing garment. 
My inspiration in this case came from enjoyment of the vintage inspired garments worn by Katy Perry and the attention to detail in her early music videos.   The resulting “Party Dress” would be appropriate for the various music award after parties.
As an artist, I love to create intricate surface designs using unusual and vintage embellishments, if possible.  Beaded yo-yos and jewelry making beads along with accent pieces obtained from recycled costume jewelry; all hand sewn onto a quilted background comprise the surface design.  The bodice of the dress is constructed using free-motion quilting, boning, hand beading and non-traditional quilting of raw edge two inch squares.  The oval accent piece on the back uses hand applique.  Hand beaded and crystalized covered buttons are used as an unique closure.  A rare vintage French trim serves as a border on several pieces.  I used Hoffman fabrics of California for the dress purchased from Hancock’s of Paducah.com.  Jewelry end cap beads can be purchased from Fire Mountain as they have a huge selection.  Look in your unused jewelry box or even thrift stores for elements which can add that extra twist to your design.
I encourage others to try and go out of their comfort zones of creativity – you may be amazed at the results!"

Kathy's entry as shown below shows the exquisite interior workmanship too:


Stay tuned! Next week I'm going to talk about how to plan for, sew for, and present your garment when Sewing for Competition.

Sunday, May 25, 2014

Sewing Indie with Craftsy: Flirty Meets Sassy, Part II

For Sewing Indie Month my assignment was to pair up with Christine Haynes (patterns) who is also a Craftsy class teacher...

 Craftsy.coom

Craftsy.com 

So I decided that my tutorial would combine our projects into ONE adorable outfit that YOU can make for yourself!
Sew Chic Patterns Tia 1312

With a few quick pattern changes, I've turned Miss Sassy into a short jacket.

Sew Chic Patterns Tia 1312
And Miss Flirty got a make over too.

Sew Chic Patterns Tia 1312

I raised the neckline, changed the trim to mirror the collar on the jacket, added tucks down the front, highlighted by covered buttons.


Sew Chic Patterns Tia 1312

 I even added cross tucks to the pocket to continue the theme.

Sew Chic Patterns Tia 1312
You can find the jacket tutorial here:
Sewing Indie with Craftsy: Flirty Meets Sassy, Part I 
But stay right here for the Tia Dress tutorial, so here we go!

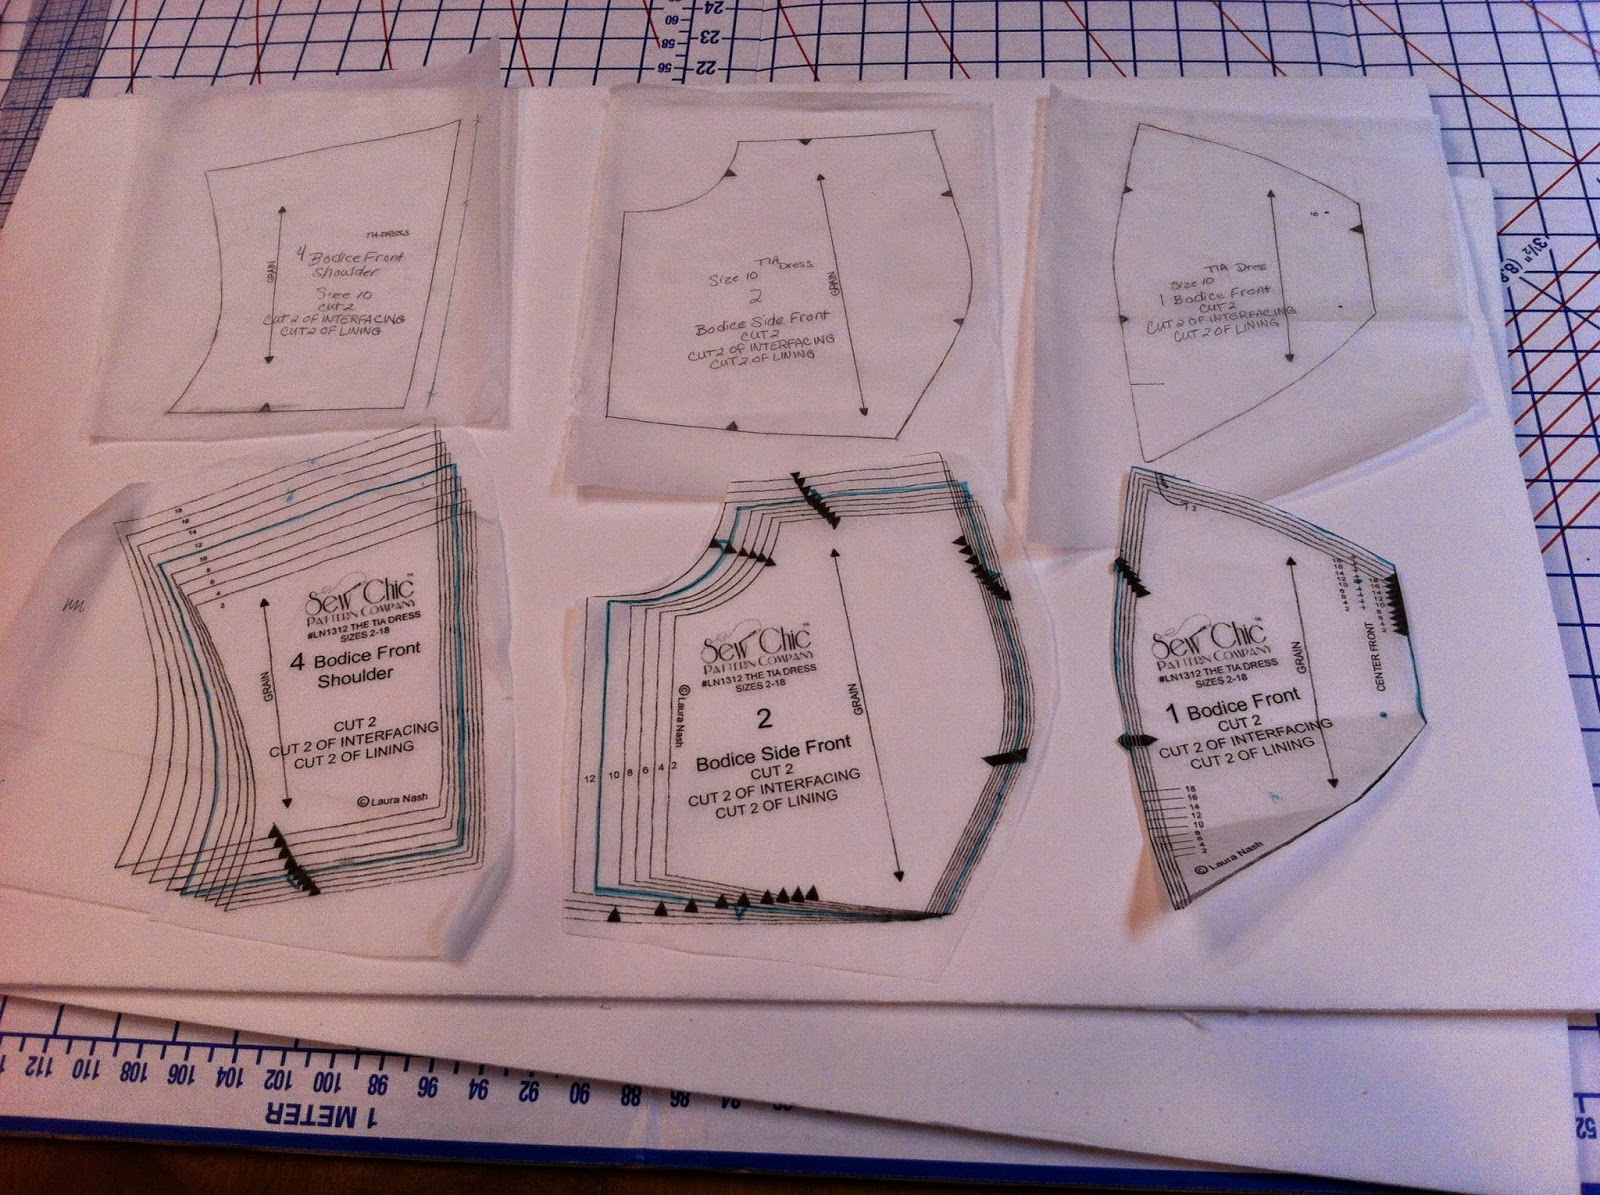
First we are going to raise the neckline. Whenever you want to make an alteration from the original pattern, I recommend that you first trace off the pattern piece in your size. If you make a mess of it, no problem. You can always come back to the original and try it again!

Here are my pieces traced off. Next, mark the seam allowances around the neckline. And pin them together as if sewn, leaving the bottom of the princess seam spread out.


Use a grid ruler to draw in a new cut line. I'm going to raise my neckline 5/8" and flattened that top curve just a little, raising the center to about 3/4".  For more modesty, you can raise the neck more, and flatten the curve or go straight across for a square neckline.


What was the cut line, now becomes the sewing or seam line (easy for me!). I've extended the pattern cut lines for all pieces and shortened the shoulder piece to match with my new seam line.
This is what my new pattern pieces look like. Be sure to make a notation on your pattern so that you will remember what you did when you find this pattern again years from now! Next, I want to add pleats down the front at the same interval and depth as my jacket pattern.

Rather than cut my pattern up to add the tucks permanently, I'm going to make the tucks first, then cut the pattern. This is a great way to add may kinds of details and get them positioned exactly. Using a small square of fabric large enough for my pattern and the wide enough for the tucks, I've marked the edges of my fabric with chalk so you can see it, but normally I would just make a clip with my scissors. These marks are 1 3/8" apart from each other. I've left about 1 1/2 to the selvage. Be sure that your tuck marks follow the grain!

Fold the pleats along the marks and press. Your grain will keep these perfectly straight. Now sew your tucks at 3/8" from the fold line.

To keep these tucks straight, use a guide, not your eye, or a piece of tape. Cutting 2, one set of tucks will be pressed to the right right, and the other to the left.


Place the center front with the cut line 1" from the first row of stitches, or 1 3/8" from the first fold. Once sewn, that will leave you with 3/8" to the center front seam line. Don't forget to add the interfacing after your fabric is cut, just as the pattern instructions direct.

 To add the trim, make yourself a pattern piece following the Craftsy class, or for those of you not in the class, here is what the pattern piece will look like with the measurements. Cut one, then cut in half, will be enough for both sides of the bodice.


Cut your trim, folded in half, and make sure that your end is square.
 Sew the end and trim. Fold right side out. the pin designates the pattern marking on the front.

 Matching the finished edge to that pin, pin, then baste into place.
Pin your center fronts together at the tuck seams so you know they will be the same distance from each other when sewn.

Also, before you sew, make sure that your trims match up perfectly at the beginning point. The X is where you'll put your needle down through all the layers.
Make your pocket in the same way, sewing the tucks first, then cutting the pattern. This one will be trickier than the bodice, because you'll be stitching those tucks on the bias. Be as careful as you can be!

Folding under your outside pocket seam will take some patience also. Use your bishops ruler to fold under and press, measuring from the pleat stitching, not necessarily from the pattern edge. No one will notice if your pockets are not exactly the same, but if your edge gets wide and narrow from your tuck, that will definitely be noticed!


Even if you aren't in the Miss Sassy class, I encourage you to read the part I tutorial anyway. I give you more tips for sewing perfectly aligned tucks!
http://christinehaynes.blogspot.com/2014/05/sewing-indie-with-craftsy-flirty-meets.html