


Once you've picked a size to fly with, next come the alterations video. That one also took a lot out of me with 5 pattern pieces to alter on view B! If you hate doing pattern alterations, this one will give you a run for your patience, but the video in that section is pretty thorough so it should go smoothly for the curious.

I should warn you this second video is long enough to be a TV sitcom. I tried to go really fast, cutting everything I could and ended with 7 minutes spent on quick tips for accurate and speedy transitioning between sizes, lengthen/shorten, etc. The bulk of the time (23 minutes!) is spent on bust cutting and altering. Each section is labeled so you can watch the progress. Enjoy!
Alterations done, and ready to cut. My opinions on this are strong: I hate doing muslins. They waste both time and money, both of which we all agree we haven't enough of. But in the case of THIS pattern, there is a built in necessity to sew a muslin and it won't go to waste. It's called INTERLINING. This is a just a cotton muslin that lines your fashion fabric to give it weight and stability. I included this feature to add balance to the many bust layers in this dress. Nobody needs a heavy front shield unless it's a dress made of Kevlar! A flimsy every where else just wouldn't do. Taking advantage of that necessity, I did cut a muslin to test the fit!

I tested the interlining with my standard bra (as you see me above)


Then with my standard bra I pinched out about a 1/2" inch on both sides as you see pinned here and think this will be a better fit, even with my padded bra. Here's how to make this alteration:


The best advice I can give is be sure to stay stitch every seam because you will be messing with it and don't want to stretch it out of shape. With that inset, clip that curve and add a big notch in your fabrics at center front. Match those big notches first, and pin to either side.


For your interlining muslin, use a basting stitch to test the fit, marking and cutting or recutting your fabric and pattern to match as needed to get a good fit. Don't over fit though. Once perfect, pull those basted seams out and you are ready to combine with your fashion fabric.

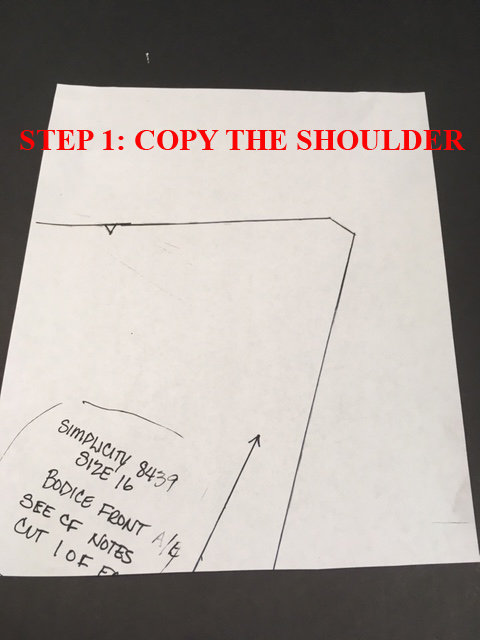
Finally, after all those videos I get to sew! YAY!
Are you making this dress? Tell me about your experience!
Stay happy and keep sewing!
Laura
Thank you so much! Wow!
ReplyDeleteI have my pattern, and I thought I had my fabric, a stretch cotton poplin. Your blog post made me do a total rethink on the stretch factor.
I'll be heading to Fabric Depot in Portland tomorrow for a cotton print with no stretch.
Thanks again for the extra instruction you are providing, it's wonderful not to feel on my own with this. :)