This week's post will continue with the IPCA PLARS contest, and semi-finalist, Eve Kovacs. First, you should know that Eve is no beginner when it comes to sewing for competition.
She was a finalist in the 2011 Passion for Fashion design contest hosted by the American Sewing Expo (above).
This design with embroidery was created for the Bernina Fashion Show, one of the world's premiere wearable art shows. Eve titled it “Belladonna.”
A quick "google" of her name, and you will come up with quite a design variety in competition creations
and incredible works of art.
Of course, many carry ribbons. She calls this one “Thai Tutti Frutti”
Her favorite things to sew are jackets, coats, and ensembles, so it's not a surprise that she did just that with the Sew Chic Beatrice pattern, #1310. As is common with wearable art, Eve added seams and plenty of details, mixing several fabric types for a successful "Rock and Roll" edgy and feminine look.
Here is the pattern she used:
You can get yours here:
http://www.sewchicpatterns.com/beatrice.html
Simplicity #1061 Sew Along
Showing posts with label Beatrice. Show all posts
Wednesday, July 2, 2014
Sunday, April 14, 2013
Side Zipper Sewing Problems and Solutions
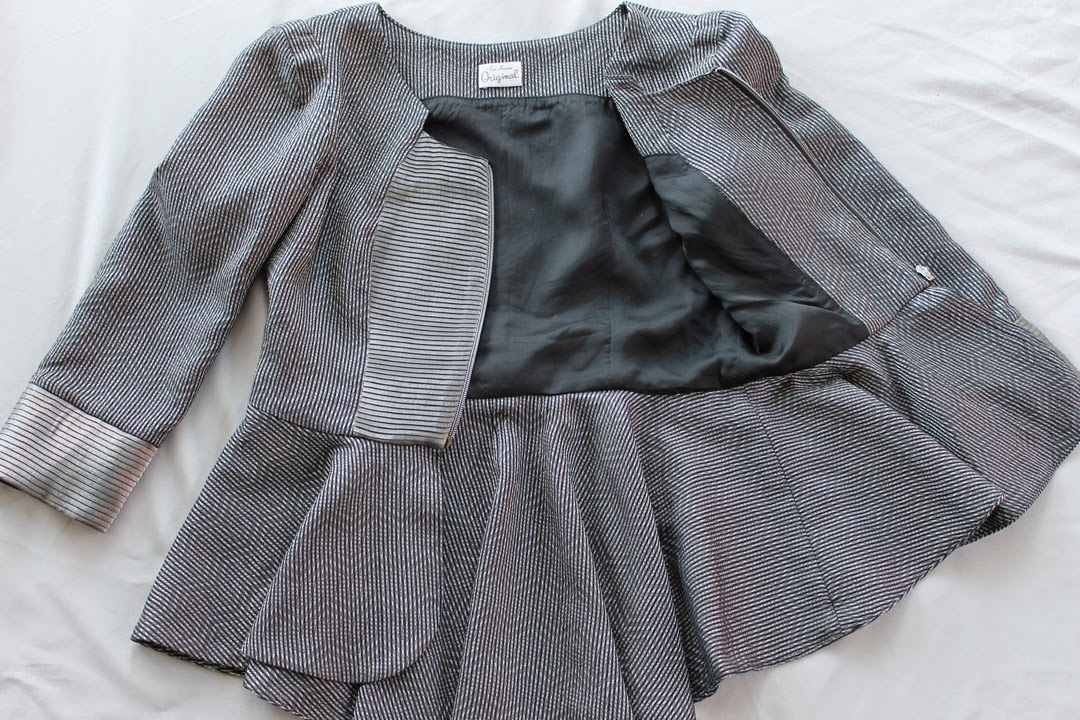
I wore Beatrice to church one Sunday and a friend of mine, noticing it was a new dress, inspected both front and back carefully and was very complimentary, saying it might even tempt her to try sewing again. Then after a moment of silence, she asked hesitantly "How do you get into it?"
Yes, a side zipper can easily go unnoticed (AND is easy to reach!), but I also love a side zipper because:
Problem A: The stitching is puckering up on one side and you have extra or not enough fabric on one side or the other.
What is happening: The front and back side seams openings are not the same length.
How to check it: Match the front and back to each other the entire length. You can see that one side is much longer than the other. Now let's talk about problem B, which has the same solution.
What is happening: You may have the same length, front to back, but the top to bottom are offset just enough to keep the waist seams from matching correctly.
Solution to problem A and B: You need to find out which piece is too long/short. Is it the front or back/ bodice or skirt?
Pull out the paper pattern and match it up to both the skirt and the bodice, both front and back, to find out which one needs the correction. In this case, the bodice allowance isn't accurate. Start by ripping the seam out back to the point where the seam diverges from the pattern.
Place a pin to mark the match point.
Pin everything back together and check it to make sure it still matches. Now sew.
Problem C: We've got both sides the same, but sewing the lapped side of the zipper with a perfectly matched waist seam is difficult!
What is happening: You've pinned your lap to the zipper tape over and over again, but still the waist seams do not match up once sewn. Figuring out just where and how to perfectly match seam to seam on the zipper tape, along with the natural drag of the zipper foot can easily put everything completely out of alignment.
Solution to Problem C:
Mark your waist seam line on the zipper tape with a pencil, chalk, or erasable marker. We have marked two lines because we need to center the piping.
Sew the seam allowance to the zipper tape to make sure everything stays in place.
Then check your work before topstitching.
Use a walking foot to top stitch, measuring an even distance from the fold. Make sure you've given enough clearance and that the stitching will be on the right side of the teeth. A walking foot picks itself up with every stitch, which means the fabric is feeding evenly the length of the zipper.
Problem D: No matter how hard you try, there is always a "bump" in the top stitching at the end because the zipper pull gets in the way.
What is happening: You can't figure out how anyone could have straight stitching at the end of a zipper! The pull is too large. The zipper foot can't get past it, you have an unsightly zag in the stitching.
Solution to Problem D:
Stop your stitching BEFORE you get to the zipper pull. With the needle in the DOWN position, raise the foot and push the zipper pull well past the foot.
Lower the foot.
Finish sewing to the end, pivoting at the corner just past the top stop. Use this method of moving the pull any time it keeps you from sewing a straight seam.
We have one lovely side zipper we can be proud to wear! Don't you just love a dress that looks great both coming and going?
Yes, a side zipper can easily go unnoticed (AND is easy to reach!), but I also love a side zipper because:
- Tucked neatly under the arm, a side zipper in an off color is less noticeable
- A 14" length (vs. 22" for a back zipper) is less expensive
- No dealing with neck edges and facings
- A lapped zipper is easier to sew
Problem A: The stitching is puckering up on one side and you have extra or not enough fabric on one side or the other.
What is happening: The front and back side seams openings are not the same length.
How to check it: Match the front and back to each other the entire length. You can see that one side is much longer than the other. Now let's talk about problem B, which has the same solution.
Problem B: The waist seams don't match up.
What is happening: You may have the same length, front to back, but the top to bottom are offset just enough to keep the waist seams from matching correctly.
Solution to problem A and B: You need to find out which piece is too long/short. Is it the front or back/ bodice or skirt?
Pull out the paper pattern and match it up to both the skirt and the bodice, both front and back, to find out which one needs the correction. In this case, the bodice allowance isn't accurate. Start by ripping the seam out back to the point where the seam diverges from the pattern.
Place a pin to mark the match point.
Pin everything back together and check it to make sure it still matches. Now sew.
Problem C: We've got both sides the same, but sewing the lapped side of the zipper with a perfectly matched waist seam is difficult!
What is happening: You've pinned your lap to the zipper tape over and over again, but still the waist seams do not match up once sewn. Figuring out just where and how to perfectly match seam to seam on the zipper tape, along with the natural drag of the zipper foot can easily put everything completely out of alignment.
Solution to Problem C:
Mark your waist seam line on the zipper tape with a pencil, chalk, or erasable marker. We have marked two lines because we need to center the piping.
Sew the seam allowance to the zipper tape to make sure everything stays in place.
Then check your work before topstitching.
Use a walking foot to top stitch, measuring an even distance from the fold. Make sure you've given enough clearance and that the stitching will be on the right side of the teeth. A walking foot picks itself up with every stitch, which means the fabric is feeding evenly the length of the zipper.
Problem D: No matter how hard you try, there is always a "bump" in the top stitching at the end because the zipper pull gets in the way.
What is happening: You can't figure out how anyone could have straight stitching at the end of a zipper! The pull is too large. The zipper foot can't get past it, you have an unsightly zag in the stitching.
Solution to Problem D:
Stop your stitching BEFORE you get to the zipper pull. With the needle in the DOWN position, raise the foot and push the zipper pull well past the foot.
Lower the foot.
Finish sewing to the end, pivoting at the corner just past the top stop. Use this method of moving the pull any time it keeps you from sewing a straight seam.
We have one lovely side zipper we can be proud to wear! Don't you just love a dress that looks great both coming and going?
Subscribe to:
Posts (Atom)